


One of the most valuable skill that a developer should never miss is the knowledge of Version Control.
Version Control is a program that tracks and logs the changes on your project over time as you work on the project.
Git
Git is a popular open-source version control system that was created in 2005 by developers who were working on Linux Operating System.
Git is responsive and easy to use as compared to other version control systems. Git has a branching model which makes it easy for developers to keep track of their projects by creating different branches.
GitHub
GitHub is a cloud-based hosting service which allows you to manage Git repositories.
To get started using Git and GitHub, follow the following steps.
Step 0: Installing Git and Creating a GitHub Account
To start using Git, you will have to first install it and create a GitHub account.
Find a complete guidance of how to install Git here.
Once you are done installing Git, you can create a GitHub account here.
Step 1: Create a local git repository
After creating a your GitHub account, you will need to create a new repository where all the project files will be stored.
After creating the remote repository, navigate to the project folder and initialize a new git repository.

Step 2: Add a new file to the repository
After initializing the new git repository, the next step is to add files to the repo.
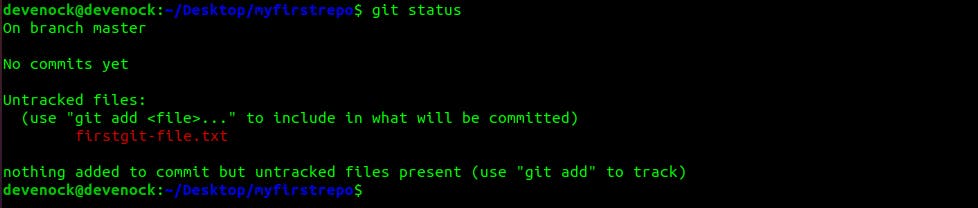
In the same project directory, create a file you can call it firstgit-file.txt as shown below:

After creating the file, you can
git status to check which files are recognized by git.
Step 3: Add file to the staging area
Unless you use
git add the file will not be added to the staging area for commit.

After adding the file, you can
git status again to see if the file is staged now.

Step 4: Create a commit
When the file/files is already in the staging area, the next thing to do is to commit the file.
To create the commit, use
git commit -m 'My first commit'

Step 5: Add the remote repo to the local repository.
Before you can push the project files you need to first add the remote repo to the local repository.

Step 6: Push the files to GitHub
The last step is to push the files to GitHub as shown below:
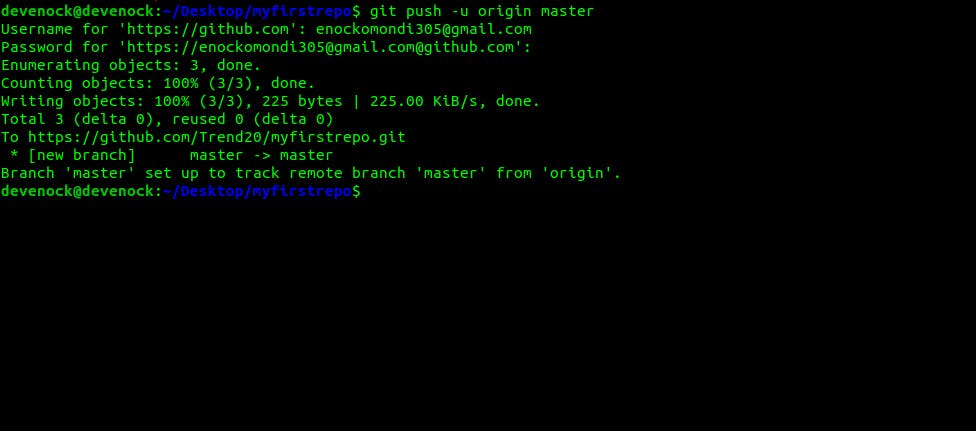
It will prompt you to enter your username and password where you will enter your GitHub Username and the password you used to create the account.
Congartulations you just made your first contribution on GitHub. and the more you use git, the more you become comfortable with it. The next article will dive into how to collaborate on GitHub.
Thank you for reading.